Introduction
Cake pops have become a popular treat that many people enjoy for their sweet flavor and easy-to-eat format. The Starbucks cake pop, in particular, has captured a loyal following for its soft texture, creamy center, and eye-catching design. This guide reveals how to make a Starbucks cake pop recipe at home without fancy equipment or complicated methods. By choosing your own cake mix and frosting, you can tailor this sweet snack to your taste while still recreating that familiar Starbucks version.
Many coffee enthusiasts appreciate pairing a cake pop with their favorite latte or tea. For those who want a budget-friendly alternative, learning to make the best Starbucks cake pop recipe at home is both satisfying and cost-efficient. You decide which flavors to include, what color candy melts to use, and how to decorate the pops in creative ways. This freedom allows you to produce small batches for a weekend dessert or larger quantities for a celebration.
In this guide, you will find a step-by-step approach to making your own cake pops, from baking a simple box cake mix to shaping the dough into cake balls. You will also learn how to work with candy melts for that signature outer coating and how to keep your pops from falling apart during the dipping process. Each phase will be broken down clearly so you can master the technique without guessing.
Whether you are a seasoned baker or a first-time experimenter, these tips will help you craft homemade Starbucks cake pops that look great on any dessert table. By the end of this tutorial, you will know the simple tricks that ensure each bite is tender, sweet, and completely irresistible.
Table of Contents
Key Benefits
Homemade Starbucks cake pops offer a range of advantages that go beyond their sweet flavor. First, there is the benefit of cost savings. Buying them from a coffee shop can be pricey, but making cake pops at home lets you enjoy the same taste while spending less. You can stretch a single box cake mix into plenty of pops, which means each treat can be quite affordable.
Another advantage is full control over ingredients. By choosing your own cake mix—such as vanilla or even a gluten-free version—you can accommodate different dietary needs. You also decide exactly how much sugar or frosting to include, which can help balance sweetness to your liking. This flexibility makes homemade cake pops a great project for those who want both flavor and control.
Beyond flexibility, there is the fun factor. Making cake pops can be an enjoyable group activity, especially for families. Kids love rolling the cake balls and dipping them in candy melts. Even if you are new to baking, the steps are simple enough to learn quickly. A few tries will help you find the right texture so the cake pop dough holds together when dipped.
Finally, you can customize the presentation in ways that store-bought treats rarely allow. You might choose candy melts in bright colors, drizzle white chocolate, or top each pop with festive sprinkles. With so many options, the process invites creativity while still delivering the classic Starbucks cake pop flair that people love.
Ingredients
Gathering the right ingredients is an important step in making the best Starbucks cake pop recipe at home. Choose a cake mix that you prefer—some people like a vanilla cake mix for a classic taste, while others enjoy a chocolate cake mix for a richer flavor. You can even use a gluten free cake mix if you want to avoid regular flour. Below is a simple list of what you will need:
- Cake Mix (1 box)
- A standard box cake mix will yield enough cake crumbs for about 24-36 pops.
- Vanilla cake mix is common for a Starbucks-style birthday cake pop, but chocolate or red velvet are also options.
- Frosting (1 cup or as needed)
- Store-bought frosting works fine, or you can make your own.
- Buttercream frosting is popular for its smooth texture. Adjust the amount to get a moist yet firm cake pop dough.
- Candy Melts (2–3 bags)
- Candy melt is essential for coating. Use chocolate candy melts, white chocolate, or colorful varieties.
- Aim for enough to fully dip each cake pop without running short.
- Cake Pop Sticks
- These sticks keep each pop secure. Choose sticks that are sturdy and about six inches long.
- You can purchase cake pop sticks in most stores’ baking sections or order them online.
- Optional Toppings
- Sprinkles, cookie crumbs, or colored sugar can add a festive flair.
- Feel free to get creative and match a theme or holiday.
- Basic Pantry Items
- Water, eggs, and oil if your box cake mix calls for them.
- A bit of extra flour or sugar is rarely needed, but keep some on hand if you want to adjust consistency.
This list keeps things straightforward. Once you have these items in place, you are ready to bake and prepare the cake for rolling. The next section outlines how to combine everything for that perfect Starbucks-inspired texture and look.
Instructions
Below is a straightforward guide to making a copycat Starbucks cake pop recipe in your own kitchen. These steps ensure the inside stays moist while the candy melt coating forms a crisp outer layer. Whether you choose a vanilla cake mix or even a chocolate cake mix, you can follow the same process from start to finish.
A. Make the Cake
- Prepare the Batter
- Begin by mixing one box cake mix according to the instructions on the package. You can use a chocolate cake mix for a richer taste or a vanilla cake mix for a classic birthday cake pop style.
- Choose a gluten free cake mix if you want to accommodate certain dietary needs.
- Bake and Cool
- Place the cake batter in a greased pan and bake until a toothpick inserted in the center comes out clean.
- Remove the cake from the oven and allow the cake to cool completely on a rack. Let the cake cool long enough to ensure it will crumble easily later.
- Crumble the Cake
- Once the baked cake no longer feels warm, transfer the cake to a large mixing bowl.
- Crumble the cake thoroughly using your hands or a fork. This forms your cake crumbs, which provide the base for making cake pops.
- Remove any hard edges or overbaked parts if needed.
B. Combine Cake and Frosting
- Choose Your Frosting
- Pick a frosting flavor that complements your cake mix—vanilla buttercream for a Starbucks birthday cake pop taste or cream cheese frosting for added richness.
- Start with about one cup of frosting.
- Form the Cake Pop Dough
- Add the frosting to the crumbled cake a little at a time, mixing gently. You want a dough-like consistency that holds together without being too wet.
- If the mixture is too dry, incorporate more frosting. If it feels overly moist, crumble up the remaining cake if you have leftover cake on hand and add it in small amounts to balance the texture.
- Make sure the cake mixture sticks together when you press it.
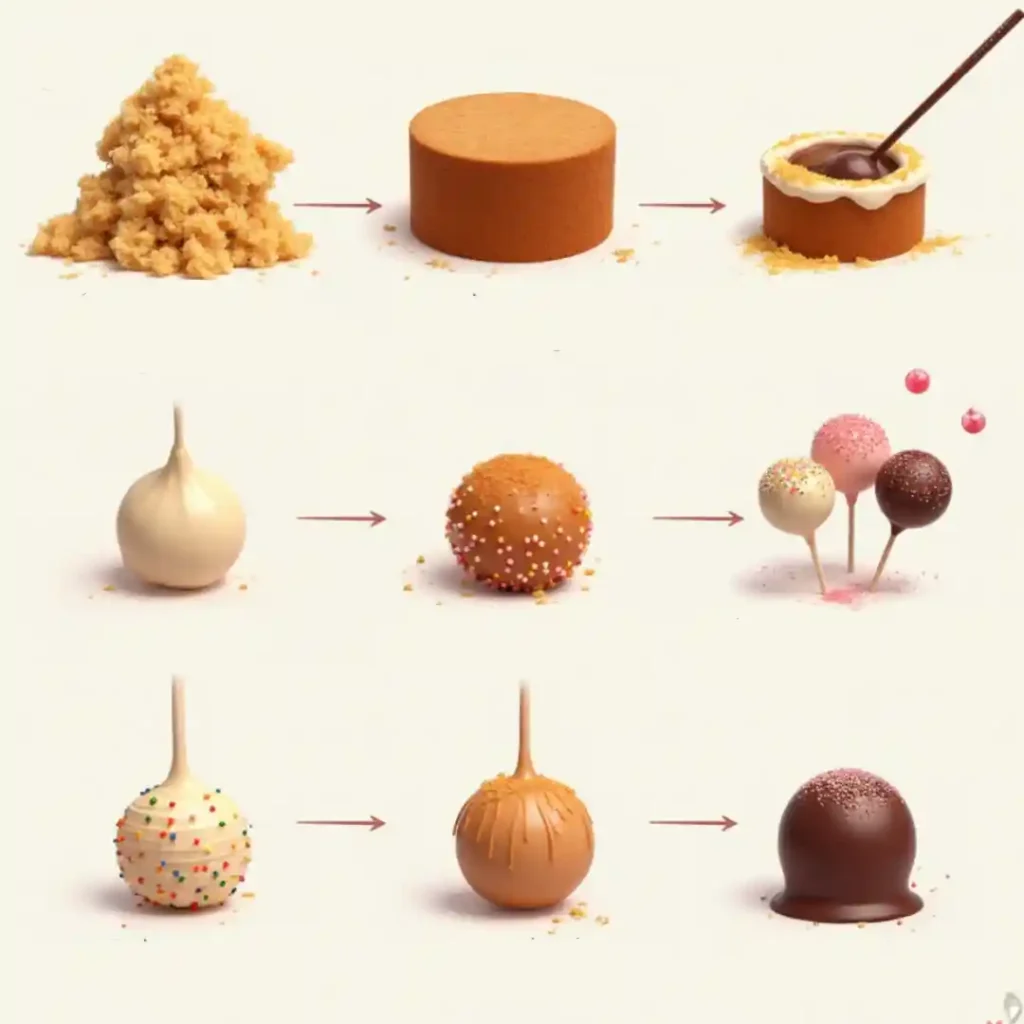
C. Shape the Cake Balls
- Portion the Dough
- Use a cookie scoop to measure even portions of the cake pop dough. This helps create uniformly sized balls, which is important for even cooking and a neat final look.
- Roll the cake mixture gently between your palms. Each cake ball should be compact enough to stay on a cake pop stick later.
- Chill the Cake Balls
- Place the cake balls on a baking sheet lined with parchment paper or a silicone mat.
- Put them into the freezer for about 15–20 minutes to allow them to firm up. Chilling prevents the cake pops from sliding off the stick when dipped.
D. Insert the Cake Pop Sticks
- Melt a Small Amount of Candy Melts
- Warm a small bowl of candy melts or melted chocolate in the microwave, stirring at 15-second intervals.
- Avoid overheating. Once the candy melt is smooth, it is ready.
- Dip Each Cake Pop Stick
- Take one cake ball from the freezer. Dip the tip of a cake pop stick into the melted candy melts, about half an inch deep.
- Insert the stick into each cake ball, pushing about halfway through. This “glue” of melted candy melt helps the stick hold the cake pop in place.
- Repeat the process for all cake balls, then return them to the freezer for another 10 minutes.
E. Coat and Decorate
- Melt the Remaining Candy Melts
- In a larger bowl, melt enough candy melts to fully submerge a cake pop. Use a microwave-safe bowl and short intervals with regular stirring.
- If you prefer a thin coating, add a tiny bit of vegetable oil or shortening to the candy melt for smoother dipping.
- Dip Each Cake Pop
- Remove the chilled cake pops from the freezer. One by one, gently dip the cake pop into the melted candy melt or melted chocolate until it is fully covered.
- Lift it out and tap the stick lightly on the edge of the bowl to shake off any excess chocolate or candy melt. Twirl the pop slightly to smooth the coating.
- Add Toppings
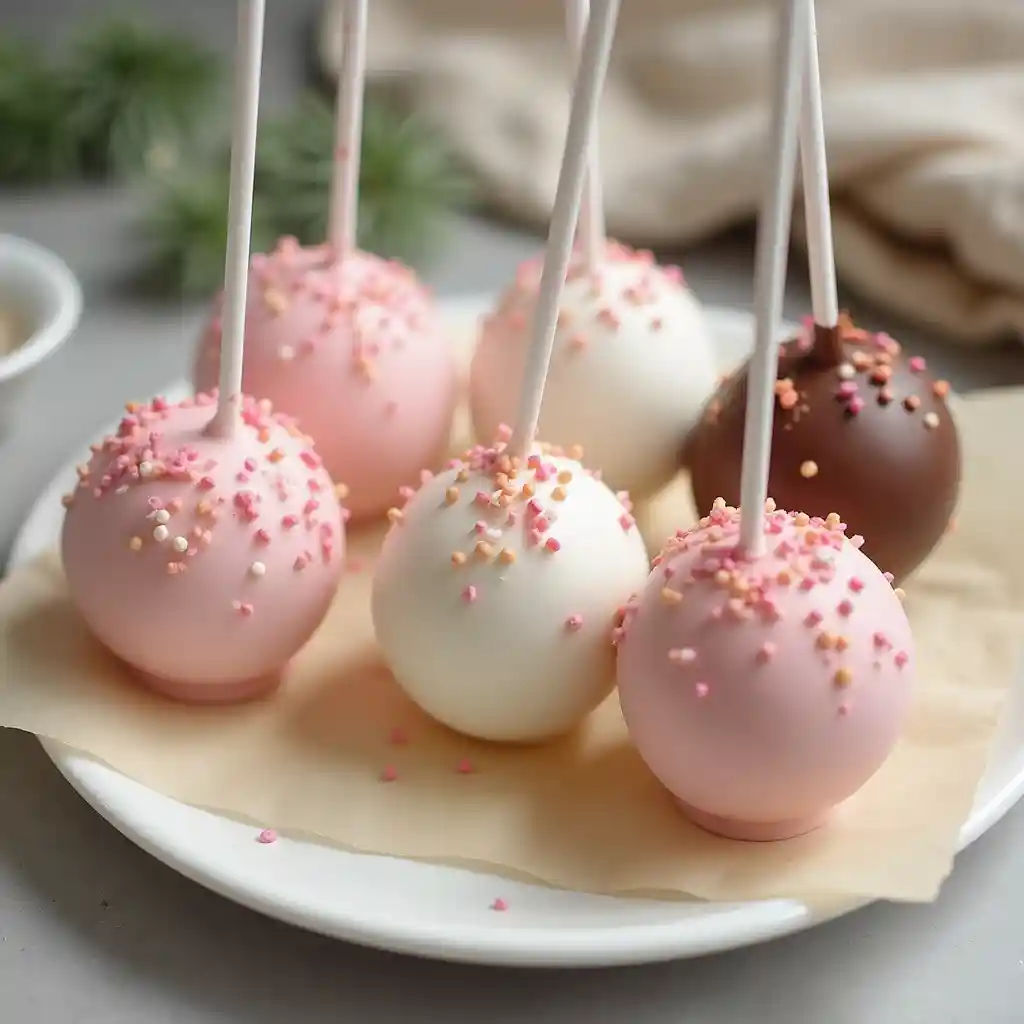
- If you want sprinkles or a drizzle of white chocolate, apply these while the coating is still wet.
- Hold the cake pops upright in a cake pop stand or a styrofoam block. This way, the coating sets evenly without smudges.
- Allow to Set
- Place the cake pops in a stable position so they do not touch each other. Wait until the coating is completely dry.
- You can keep the finished pops at room temperature or in the refrigerator, depending on your frosting choice and how quickly you plan to serve them.
F. Complete the Presentation
- Inspect Each Cake Pop
- Make sure the cake pops are dry and the candy melt coating is solid.
- If you spot any imperfections, you can drizzle more candy melt on top to add a decorative design.
- Display
- Arrange your cake pops in a decorative holder, or wrap them individually for gifts.
- Keep them upright to maintain their shape.
With these instructions, you have a clear path to making homemade cake pops that feel and taste like a Starbucks version. Follow each step carefully to keep the cake pops from falling apart when you dip them and to achieve a sweet, consistent coating. Once you get the basics down, it is easy to adjust ingredients and explore fun variations.
Pro Tips and Variations
If you want your Starbucks cake pop recipe to shine, a few extra steps help you fine-tune flavors, decorations, and techniques for consistently great results.
Smooth, Crack-Free Coatings:
Keep candy melt warm but not too hot, or it may crack on cooler cake balls. Thin thick melts with vegetable oil. Chill dough thoroughly so pops hold firm to sticks; if too cold, they might crack. Dip quickly, tapping off extra.
Flavor Twists:
For a deeper taste, use chocolate or red velvet cake mix with cream cheese frosting. A gluten free cake mix also works; ensure frosting and melts meet dietary needs. Add nuts or chocolate chips, adjusting frosting to prevent crumbling.
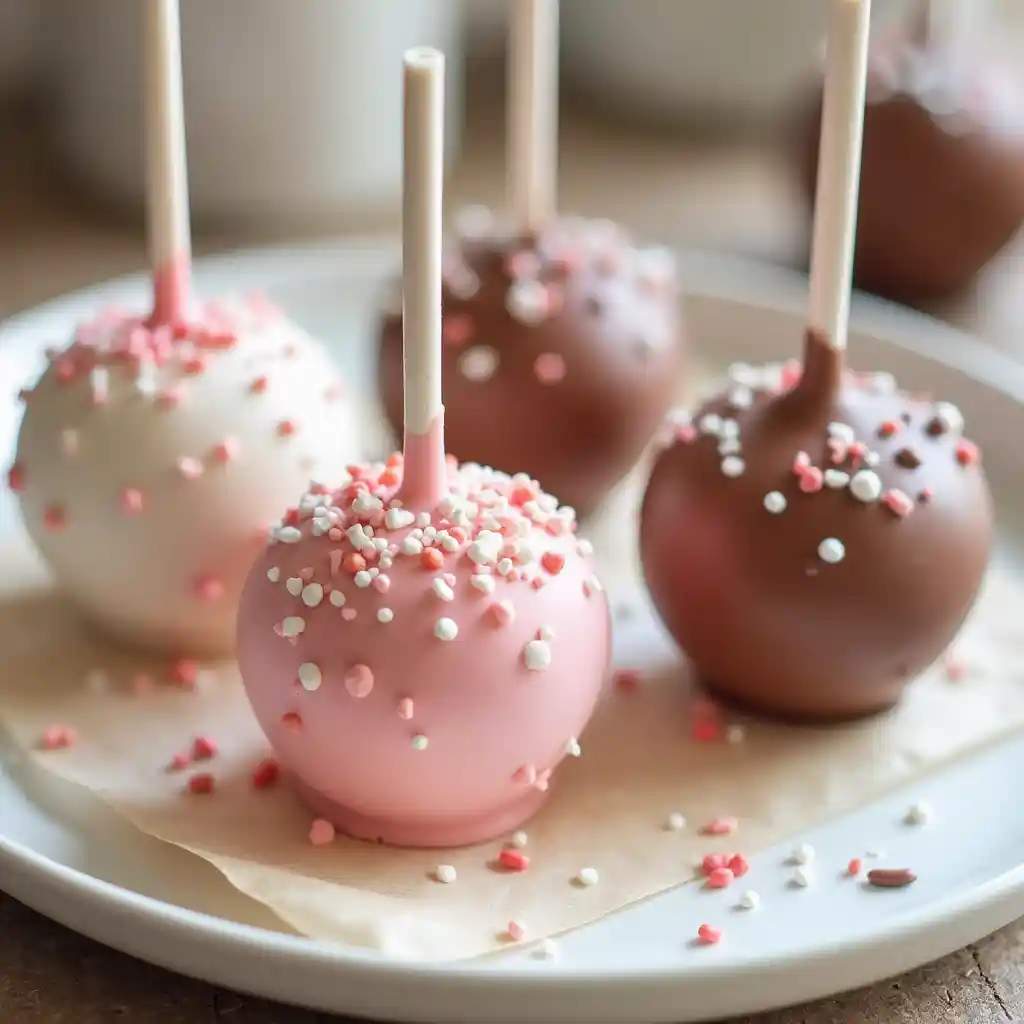
Color and Decoration:
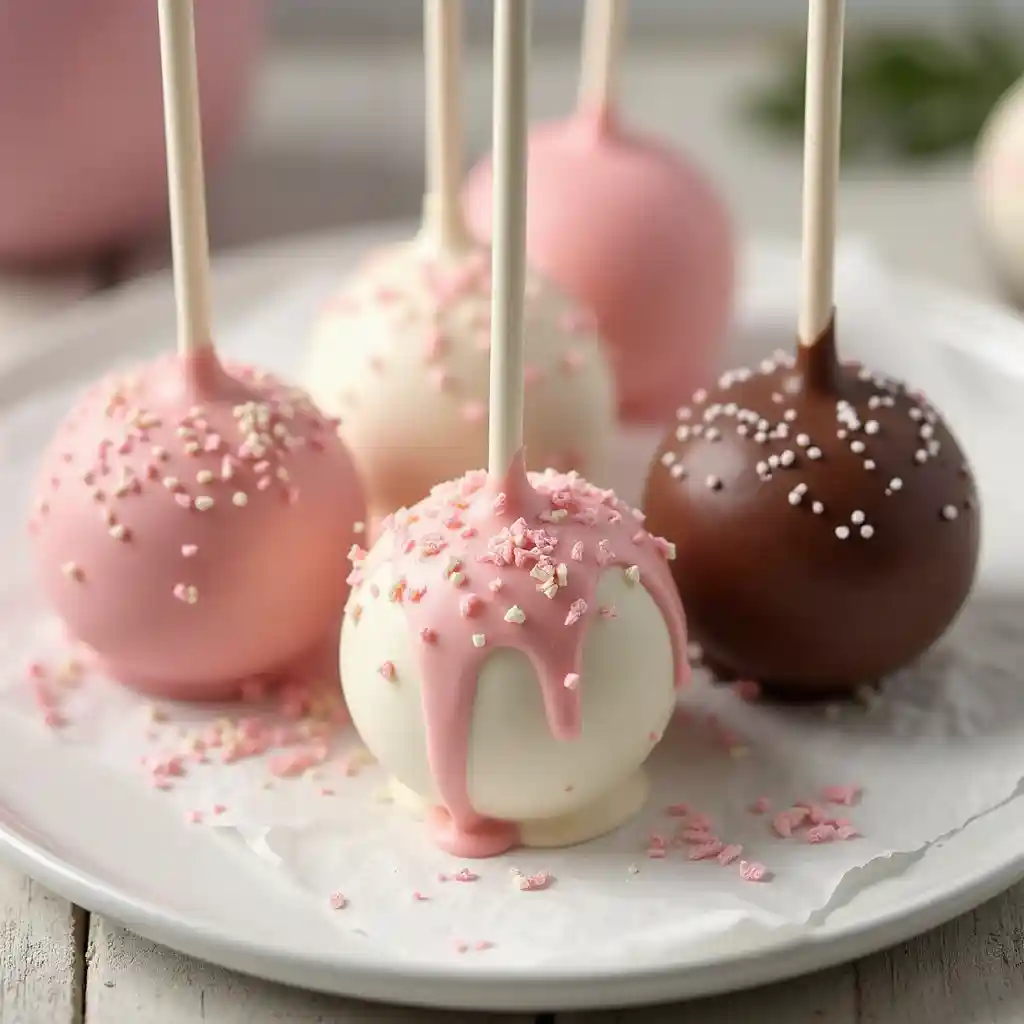
Starbucks pops often use pink or white candy melts, but you can select any hue. Apply sprinkles right after dipping. Shape dough into hearts or similar forms, keeping them small.
Alternate Coatings:
White chocolate melts yield a sweet finish. For a bolder note, try dark chocolate. Create marbled pops by swirling two colors.
Freshness:
Store dipped pops in an airtight container if using buttercream; refrigerate cream cheese frosted ones. Freeze uncoated cake balls to dip later if you need advanced prep.
Sizing:
Smaller pops are easier to manage and decorate; standard scoops match Starbucks’ size.
By following these suggestions, you can adapt an easy cake pop recipe to mimic or exceed Starbucks-style treats, customizing color, coating, and shape for a delicious, eye-catching result. For even more flair, drizzle melted chocolate or candy melts over the pops once the initial coating sets. This extra layer can feature contrasting colors or patterns. If cracks appear, let the pops warm slightly before dipping again. Also, consider mixing flavor extracts like almond or peppermint into the frosting for unexpected twists. With practice, each pop becomes flawless.
Serving Suggestions
Presentation can elevate your homemade cake pops, making them a delightful centerpiece or sweet finish to any meal. Here are a few ways to serve them:
- Party Displays
- Place the cake pops upright in a foam block or cake pop stand. This approach keeps them neatly spaced and shows off the colorful coating. It’s especially handy for birthdays, baby showers, or holiday get-togethers.
- Coffee Pairings
- Match a cake pop with a hot latte or iced coffee. The sweetness in the pops complements stronger coffee flavors, creating a balanced bite-and-sip experience.
- Individual Wrappings
- For a special gift, wrap each pop in cellophane and tie it with a ribbon. This method is ideal if you plan to hand them out as party favors or thoughtful tokens for friends.
- Dessert Platters
- Arrange these bite-sized treats on a tray with other small desserts, such as cookies or brownies. The variety will entice guests to sample multiple sweets without feeling overly full.
- Color Themes
- Coordinate candy melt shades and sprinkles with your event’s color scheme. This way, the pops match the decor and become a fun, polished highlight on the table.
- Seasonal Twists
- Experiment with seasonal flavors and toppings (peppermint sprinkles for winter, pastel hues for spring), giving each batch a fitting theme.
With these serving ideas, your cake pops can impress guests, celebrate special moments, and easily travel wherever they’re needed. Feel free to adapt each suggestion to your tastes or occasion
- For more information on Starbucks’ full menu and offerings, visit the official Starbucks website.
Conclusion
Crafting Starbucks cake pops at home proves that a coffee-shop favorite can be recreated with accessible ingredients and a few key techniques. Beginning with a standard box cake mix of your choice—be it vanilla, chocolate, or even red velvet—lets you shape and flavor each pop in a way that suits your taste and dietary needs. Combining crumbled cake with the right amount of frosting ensures the perfect texture, preventing either dryness or excessive moisture.
Once the dough is set, timing becomes crucial. Briefly freezing the formed balls helps them hold their shape when dipped in candy melts or melted chocolate. A secure dip using cake pop sticks, plus careful temperature management, leads to a smooth coating without cracks. Through creative topping choices like sprinkles, drizzled chocolate, or colorful candy melts, each pop takes on a signature style that can reflect any theme or event.
By controlling each step—from baking to dipping—you bring fresh flavors to a beloved dessert while also enjoying the flexibility to adjust sweetness and appearance. You get a budget-friendly snack or gift that replicates the familiar Starbucks appeal. More importantly, the process itself is a fun project, offering a playful kitchen experience for beginners and seasoned bakers alike.
FAQs
1. What are the ingredients of Starbucks cake pops?
Starbucks cake pops usually include a basic cake (such as vanilla or chocolate), a creamy frosting that acts as a binder, and a candy melt or chocolate coating. Inside, you’ll find a soft, moist cake crumb mixed with frosting. On the outside, the coating gives each pop a polished look, often decorated with sprinkles for added color and texture.
2. What makes Starbucks cake pops so good?
They stand out because of their balance between soft interior and smooth exterior. The cake-frosting blend creates a moist, rich center, while the candy melt or chocolate layer contributes a lightly crisp shell. This contrast in textures, combined with sweet flavor and eye-catching design, makes them appealing and easy to enjoy on the go.
3. What is the trick to making cake pops?
Success depends on achieving the correct cake-to-frosting ratio and maintaining the right temperature. Too much frosting can make cake pops fall apart, while too little can leave them dry. Chilling the balls before dipping ensures they stay firm on the stick. Also, be sure to melt your candy melts carefully, so they’re warm enough for a smooth coating without causing cracks.